
Lactation balls are simple, no-bake energy bites made with everyday ingredients such as oats, nut butter, seeds, and dried fruit. They are popular as a convenient snack for breastfeeding mothers because they are easy to prepare, portable, and filling. Their soft and slightly chewy texture also makes them enjoyable as a quick homemade snack.
These energy bites can be prepared in advance and kept ready for busy days. They are especially useful when you want a quick snack that combines carbohydrates, healthy fats, and protein in a convenient form. This guide covers simple ingredients, preparation methods, serving ideas, storage tips, and common mistakes to help you make lactation balls at home.
What Is a Lactation Balls Recipe?
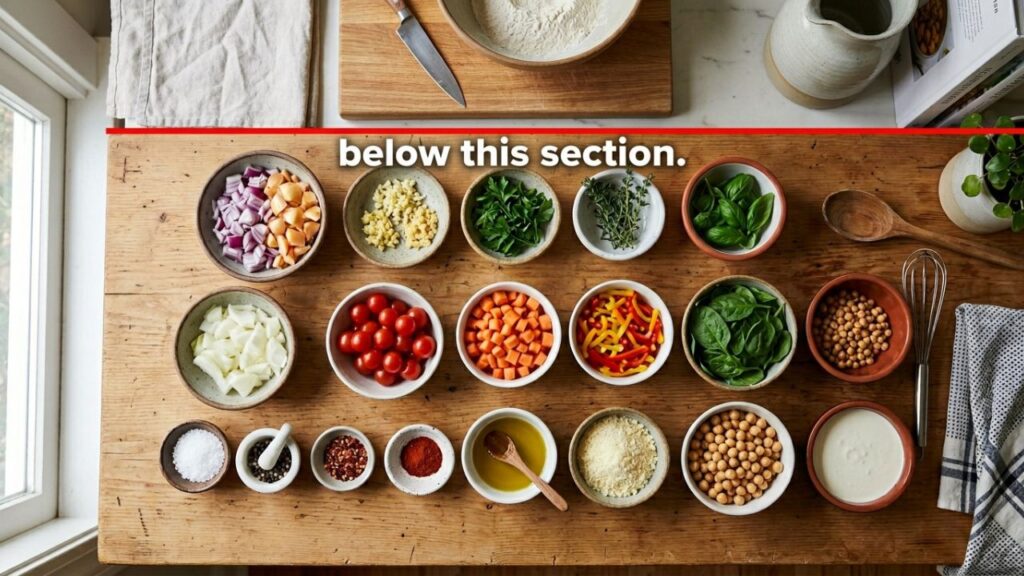
Lactation balls are small, no-bake snack bites made by combining ingredients such as oats, nut butter, seeds, and natural sweeteners. The mixture is shaped into bite-sized balls and chilled until firm, making them convenient for quick snacks. They usually have a soft, chewy texture with a naturally sweet and nutty flavor. Common additions include flaxseed, dried fruit, or a small amount of chocolate chips for extra taste.
| Prep Time | Cook Time | Total Time | Servings |
|---|---|---|---|
| 10 minutes | 0 minutes | 10 minutes | 12 servings |
Ingredients
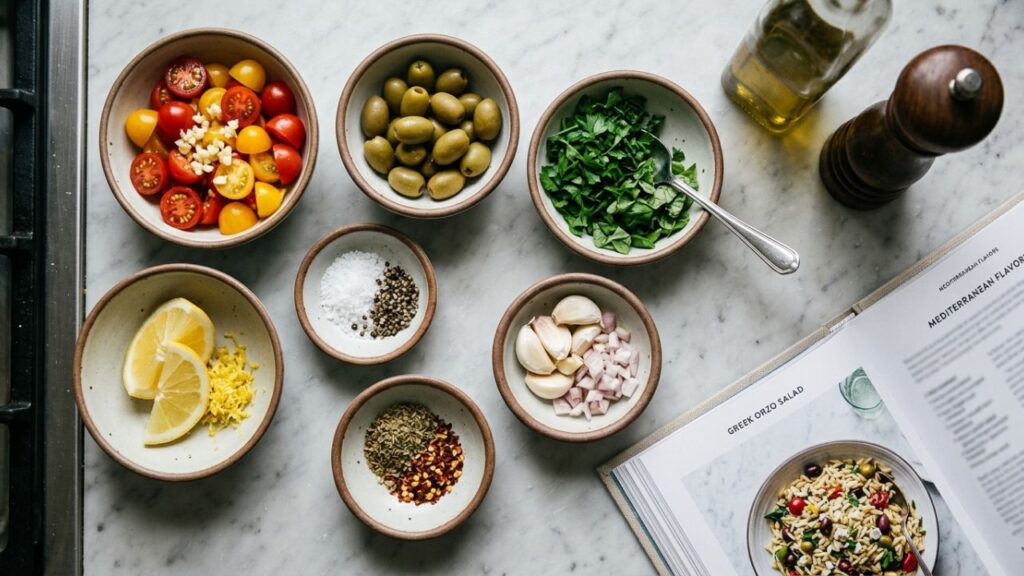
- 1 cup rolled oats
- ½ cup smooth peanut butter
- ⅓ cup honey
- 2 tablespoons ground flaxseed
- 2 tablespoons chia seeds
- ¼ cup shredded coconut
- ½ teaspoon ground cinnamon
- ¼ cup mini chocolate chips
- 1 teaspoon vanilla extract
Ingredient Alternatives
| Ingredient | Alternative |
|---|---|
| Rolled oats | Quick oats |
| Peanut butter | Almond or cashew butter |
| Honey | Maple syrup |
| Ground flaxseed | Ground chia seeds |
| Chia seeds | Hemp seeds |
| Shredded coconut | Finely chopped dried fruit |
| Ground cinnamon | Pumpkin pie spice |
| Mini chocolate chips | Raisins or dried cranberries |
| Vanilla extract | Almond extract |
Step-by-Step Cooking Method
Step 1
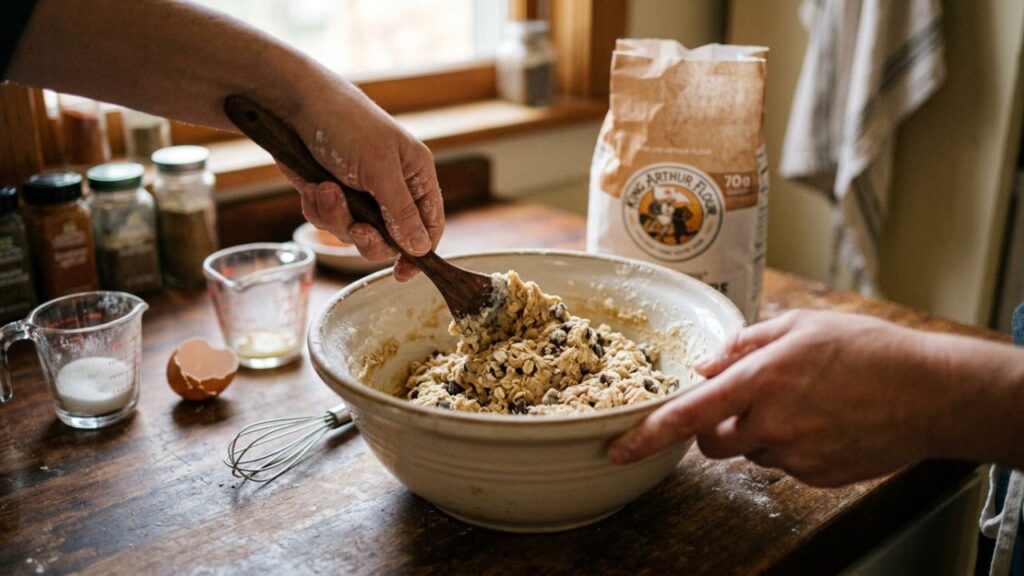
Add the rolled oats, ground flaxseed, chia seeds, shredded coconut, cinnamon, and chocolate chips to a clean mixing bowl. Stir the dry ingredients together until they are evenly distributed. For general guidance on safe food preparation, follow the USDA Food Safety Basics guidance .
Step 2
Add the peanut butter, honey, and vanilla extract to the dry mixture. Mix thoroughly until everything combines into a sticky, soft dough that holds together when pressed.
Step 3
Check the consistency before shaping. If the mixture feels too dry, add a little more peanut butter or honey. If it is too sticky, mix in a small amount of oats until it becomes easier to handle.
Step 4
Take small portions of the mixture and gently roll them between your hands to form bite-sized balls. Try to keep each ball similar in size for even portions.
Step 5
Place the shaped balls in the refrigerator for about 20–30 minutes. Chilling helps them become firmer and makes them easier to store and enjoy.
Serving Suggestions
| Serving Option | Best For |
|---|---|
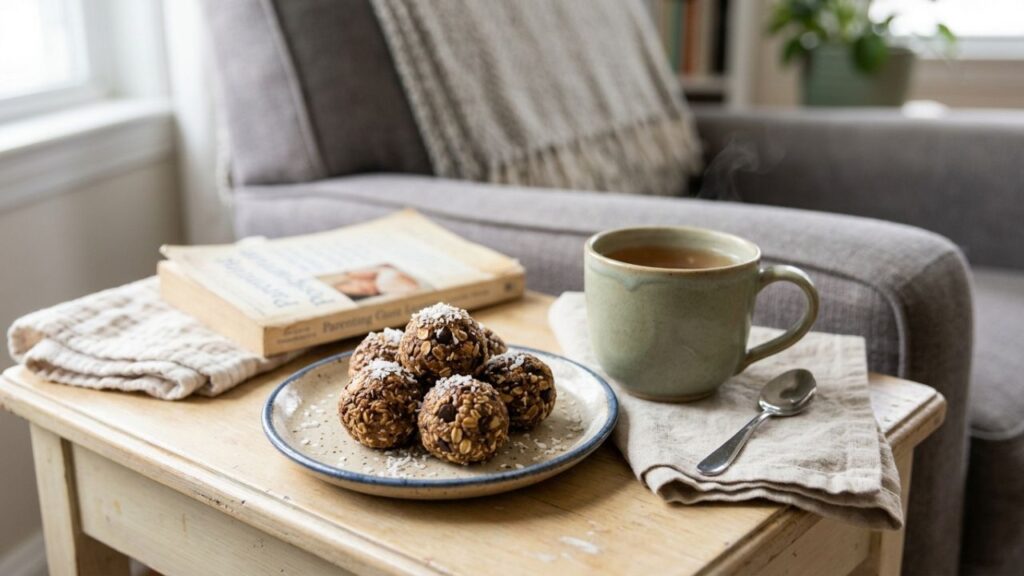
| Everyday Serving Style | Tea, coffee, or milk ke sath quick aur satisfying snack ke liye. |
| Breakfast Addition | Yogurt aur fresh fruit ke sath ek filling breakfast option ke taur par. |
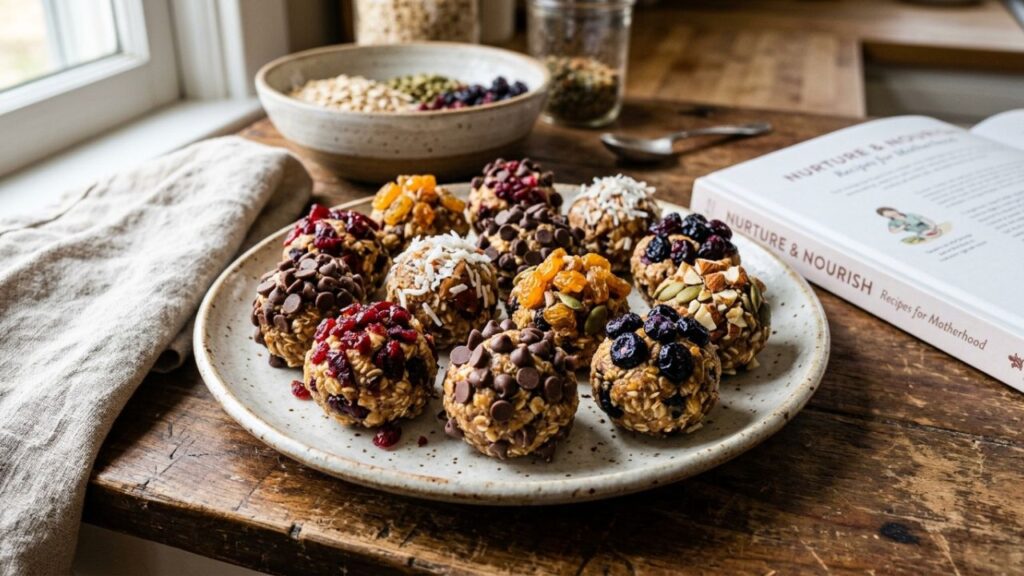
| Presentation Ideas | Nuts aur dried fruits ke sath serving plate par attractive homemade snack ke liye. |
| On-the-Go Snack | Busy routine mein easily carry karne aur meals ke darmiyan enjoy karne ke liye. |
Seasonal or Occasion Variations
Everyday Variation: Try different nuts, seeds, or dried fruits to create new flavor combinations while keeping the basic no-bake method the same.
Summer Version: Add shredded coconut or dried berries for a lighter, fruitier flavor that works well during warmer weather.
Winter Version: Mix in cinnamon or a small amount of nutmeg to create a warm, comforting flavor for colder days.
Festive Version: Add a light chocolate drizzle or colorful dried fruit for a more attractive and festive presentation during special occasions.
Storage & Reheating Tips
Food Safety: Keep prepared lactation balls properly chilled when they are not being served. For additional guidance on safe refrigeration and food storage, follow the USDA Refrigeration and Food Safety guidance.
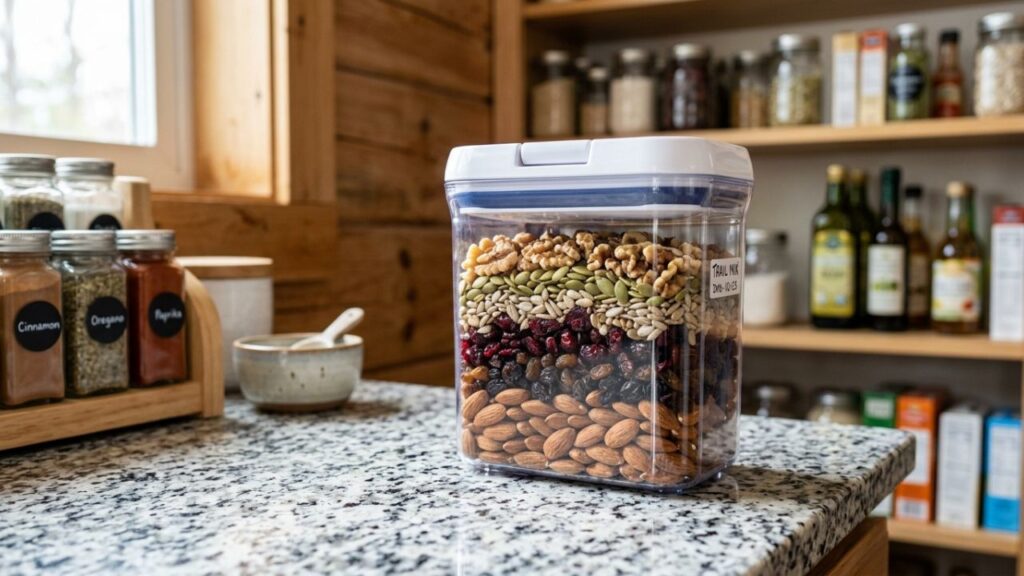
Refrigerator Storage: Store lactation balls in an airtight container in the refrigerator. They can generally be enjoyed within about one week when stored properly.
Freezer Storage: For longer storage, place the balls in a freezer-safe container or bag with portions separated. Thaw them in the refrigerator when needed.
Serving Tip: Let refrigerated or thawed lactation balls sit at room temperature for a few minutes before eating. This helps soften their texture slightly and makes them more enjoyable.
Common Mistakes to Avoid
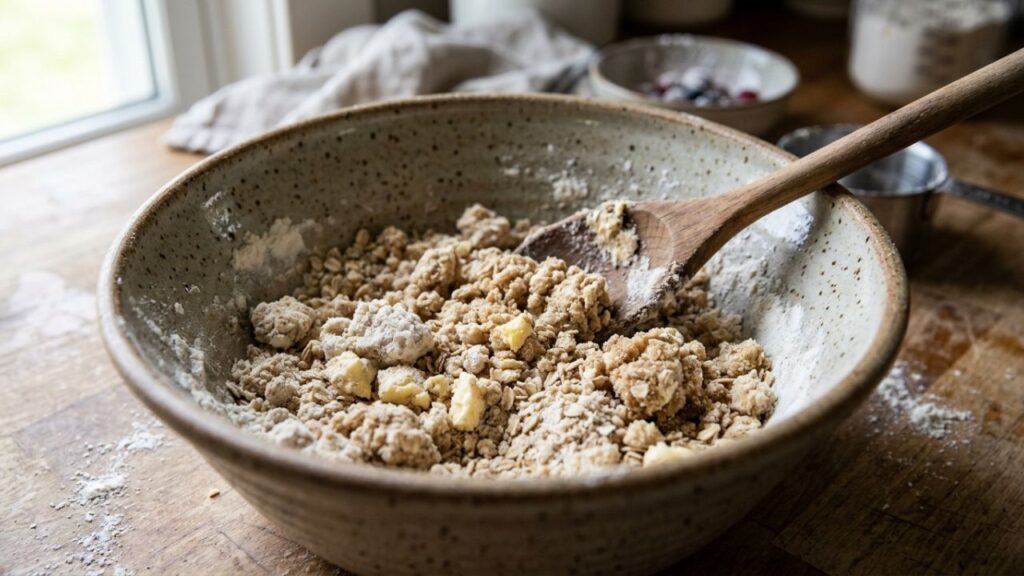
Poor Mixing: Uneven mixing can cause some balls to be dry while others are too sticky. Mix thoroughly for a consistent texture.
Using Too Many Dry Ingredients: This can make the mixture crumbly and difficult to shape. Keep the wet-to-dry ratio balanced.
Skipping the Chilling Step: Without chilling, the balls may remain too soft and lose their shape easily.
Adding Too Much Flavor: Strong ingredients such as cinnamon, chocolate, or dried fruit can overpower the other flavors when used excessively.
Frequently Asked Questions
1. Can lactation balls be made without baking?
Yes, lactation balls are completely no-bake and very easy to make at home because they do not require any oven or cooking. You simply mix all the ingredients together, shape them into small balls, and then chill them in the fridge.
2. How long can they be stored?
They can be stored in the refrigerator for up to one week if kept in an airtight container. This helps keep them fresh and soft. They taste best when eaten within a few days.
3. Can I freeze lactation balls?
Yes, lactation balls can be frozen for up to two or three months. Store them in a freezer-safe container and take them out a few minutes before eating so they soften naturally.
4. Are they only for breastfeeding mothers?
No, lactation balls are not only for breastfeeding mothers. Anyone can enjoy them as a healthy energy snack during the day, including kids and adults.
5. What if the mixture is too sticky?
If the mixture is too sticky, add a little more oats and mix again until the texture becomes easy to handle. Then you can roll them into balls without difficulty.
6. Can I make them without sweetener?
Yes, you can make them without sweetener, but the taste and texture will not be as balanced. Sweetener also helps bind the mixture, so it is better to reduce it instead of removing it completely.
Conclusion
Lactation balls are a simple and nutritious snack made with wholesome ingredients like oats, nuts, seeds, and natural sweeteners. They provide natural energy and can be enjoyed anytime, whether as a quick snack or part of a light breakfast. Preparing them at home makes it easy to create a balanced and satisfying treat for yourself or your family.